Rice
- When cooking rice by absorption method use two cups of water for one cup of rice.
- If the rice you are using is old, you will have to add a little more water than the prescribed ratio of 2:1.
- Add a spoonful of butter / ghee when making plain rice, it gives a lovely flavor to the rice. Especially good for young and growing children.
- Add a tsp of lemon juice to rice while boiling, to make it white and fluffy. It will also help to bring out the rice flavorful.
- When cooking rice for biryani / pulao, wash and soak the rice for twenty minutes. Then drain the rice and leave to dry (you can spread the rice in a plate or on a kitchen towel) for about thirty minutes. This will help to remove the excess starch from the rice, and every grain will be separate.
- If a recipe calls for half cooked rice for pulao / biryani, wash and dry the rice as mentioned above, then boil hot water (1 cup water for one cup of rice). add the rice cover, when the water comes to a boil again, reduce the flame and cook till all the water is absorbed (about 5 minutes). You will get rice that is half cooked. To check if rice is cooked correctly, take a grain or rice on your finger and break it, you will see that the outer rim is cooked and there is a raw spot in the center. This rice is perfect for addition to biryani / pulao.
- If the rice is overcooked / soggy, mix in some spices and drop small balls on a greased plate, dry in the sun. Instant rice papad are ready. These can be stored in an airtight container. Deep fry to serve.
- Do not stir the rice when cooking, as the rice grains will get crushed releasing starch into the water making the rice sticky.
- Brown rice will stay fresh longer, if stored in the refrigerator.
- Leftover cooked rice must be stored in a sealed container. To reheat - sprinkle rice with water and heat in a microwave oven or in a covered pan / pressure cooker over low heat.
Egg
- To test if the egg is fresh, without breaking it, take a bowl of water and lower the egg into the water. A very fresh egg will be heavy and will immediately sink to the bottom of the bowl and lie flat on its side, while an older egg will float. If the egg stands up and bobs at the bottom, it is not very fresh, but is safe to eat. If the egg is very light and floats on the surface, without touching the bottom of the bowl, it should be discarded as it will most likely be bad. This test works because as an egg grows older, it begins to lose moisture; the air bubble inside the egg begins to expand, thereby making it float.
- Another method to test freshness of an egg is by breaking the egg in a plate - The yolk of a very fresh egg will be round and compact in appearance and will be in the middle of the egg. The egg white surrounding it will be thick (almost whitish) and will cling to the yolk. As the egg becomes older, the egg yolk will become flatter and the egg white will start becoming thinner and transparent and spread on the plate.
- Very fresh eggs are ideal for frying, boiling or poaching, but less fresh eggs can be used for sauces, batters or omelette, where the shape and texture of the egg is not noticeable.
- To quickly bring eggs from the refrigerator to room temperature, place the cold eggs in a bowl of tap water for five minutes.
- To prevent eggs from cracking when boiled, use eggs at room temperature, add a spoonful of vinegar to the water as this seals the cracks if any and prevents the egg white from seeping through.
- To boil eggs, add them to boiling water, then lower the flame and continue to cook. This will prevent excessive agitation, and the eggs will not crack.
- Simmer eggs in water to cook them to your likeness, smaller eggs will require lesser time than larger ones. Soft Cooked egg with runny yolk 4-6 minutes, Medium Cooked eggs with firm and partially runny yolk 6-8 minutes, Hard Boiled Eggs 10-12 minutes.
- When a recipe calls for large quantity of eggs, or addition of eggs half way into a recipe, break the eggs one at a time in a small bowl, before transferring to a bigger bowl. If an egg is bad, it can be discarded and will prevent spoiling all the other ingredients.
- Scrambled eggs should ideally be served immediately after cooking. However, if you have to warm them before serving, cover them and place over a pan of hot water and never on direct heat.
- To make fluffy omelette , beat eggs or egg whites with a small amount of milk, cream or water. The "bubbles" of water vapor trapped within the rapidly cooked egg, make the omelette light and fluffy.
- Brush breads / pastries with egg wash before baking. The products will get a lovely golden glaze.
- If you drop an egg on the floor, cover it with salt and let it remain for a couple of minutes. You will be able to easily wipe off the egg with a paper towel.
- If a recipe calls for use of egg yolks only, store the egg whites in batches of 3-4eggs and freeze. These freeze very well and can be used for other recipes later. Large batches of whites can be used to make meringues, omelette, souffle, etc.
- Immediately place boiled eggs in a bowl of chilled water, this will stop the carry over cooking, and prevent the formation of the greenish-grey sulphur ring around the yolk.
- To easily peel hard boiled egg, remove from hot water shake the pan from side to side to crack the shells, then fill the pan with cold water for cooling. The cold water will seep in through the cracks, and you can easily peel the eggs without damaging them.
- Another trick to peel eggs is to crack the egg, then roll it on the table under your palm back and forth (Apply very little pressure). Peel the shell by starting at the larger end, the shell will come off easily.
- Hard boiled eggs, still in their shells store well in refrigerator for 5-7 days.
- When peeling several eggs, place the shelled eggs in a bowl of cold water.
- It is easier to separate eggs when they are cold. If a recipe calls for egg yolks / whites, separate them first, then cover and let the eggs come to room temperature before using them for baking.
- To check if the egg is hard boiled, when cool spin it on the kitchen counter like a top, if it spins around for some time then the egg is done. Under cooked or raw eggs will be wobbly and will not spin but spiral off to one side.
- Do not put whole eggs in a microwave, they will burst and cause a mess.
Ginger-Garlic Paste
Ginger and Garlic are two indispensable ingredients in my kitchen as these are used in most Indian preparations. While many a recipe call for these in various forms fresh(whole, crushed, julienne, sliced) many like to use it in the paste form as these disintegrate into the preparation, making if flavourful.
As the ginger-garlic paste is my go to ingredient for many dishes, I like to make a large batch at home and freeze it in small boxes. Fresh home made paste is better than any store bough ones as it also has no added preservatives to prolong its shelf life.
As the ginger-garlic paste is my go to ingredient for many dishes, I like to make a large batch at home and freeze it in small boxes. Fresh home made paste is better than any store bough ones as it also has no added preservatives to prolong its shelf life.
There are just 3 ingredients that go into the making of this paste - Ginger / Garlic / Oil. While there are no specific quantities to make this paste, the only thing to keep in mind is that both the ginger and garlic have to be equal in proportion. For the amount of oil to be used follow the thumb rule. 1 tsp of oil for every 100 gms of ginger garlic paste.
- Select the freshest of ingredients... Ginger that is not too wet or slimy. Garlic that is fresh and not wilted.
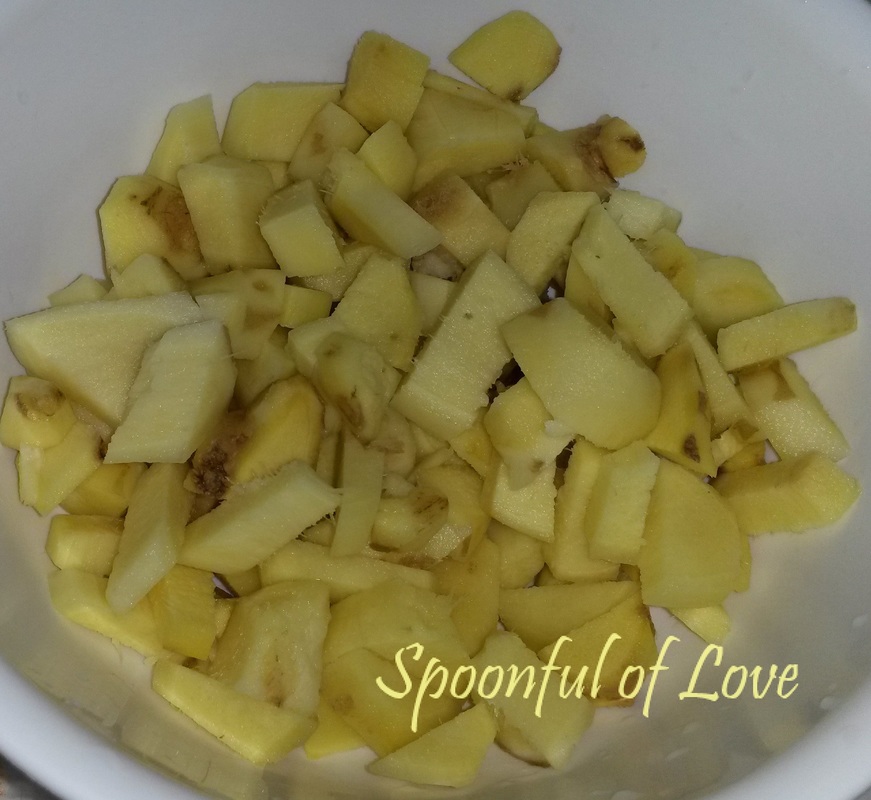
- Prepare the ginger by peeling and washing it. Then cut into rough pieces.
- Peel and wash the garlic too. To save time you can also buy peeled garlic that is available in the market. Just ensure you pick through it to discard any garlic that has gone bad.
- Allow the water to drain away completely, water in the ingredients reduces the shelf life of the paste.

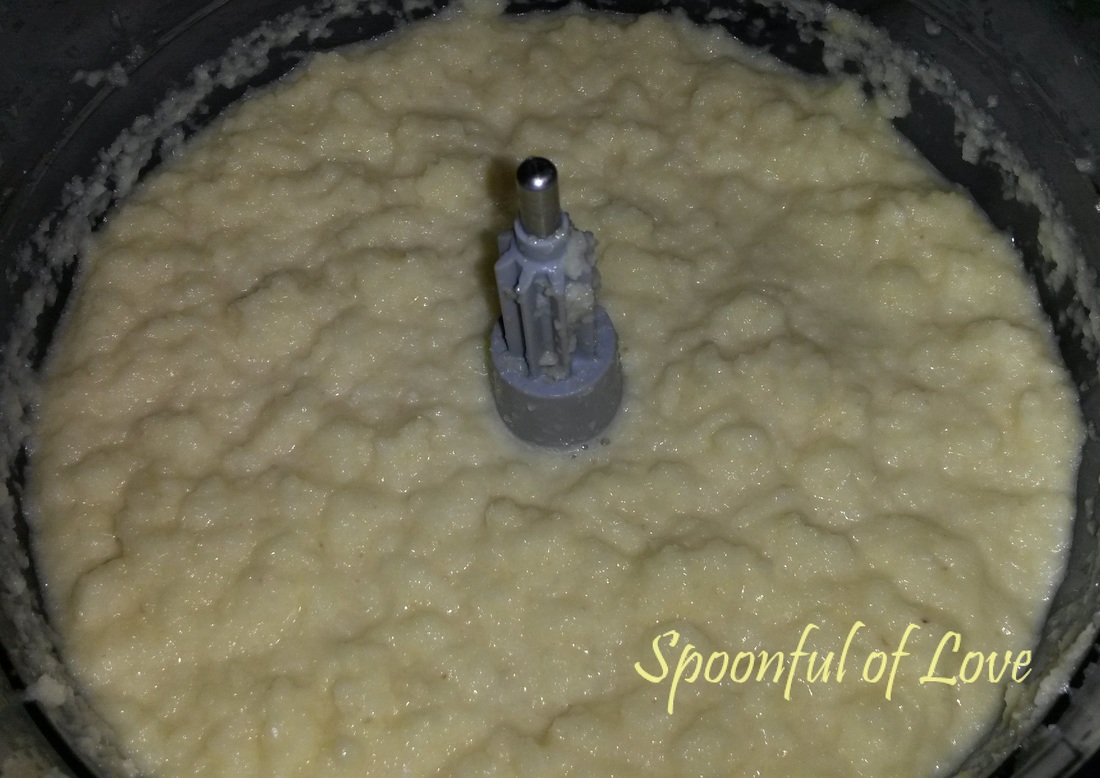
- Using a wet grinder / food processor blend both the ginger and garlic together to get a coarse grind.
- Add in the oil and blend again to get a paste.
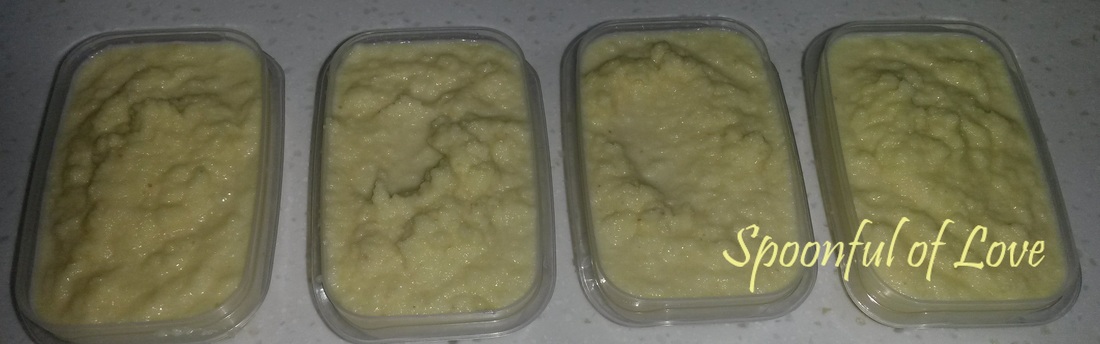
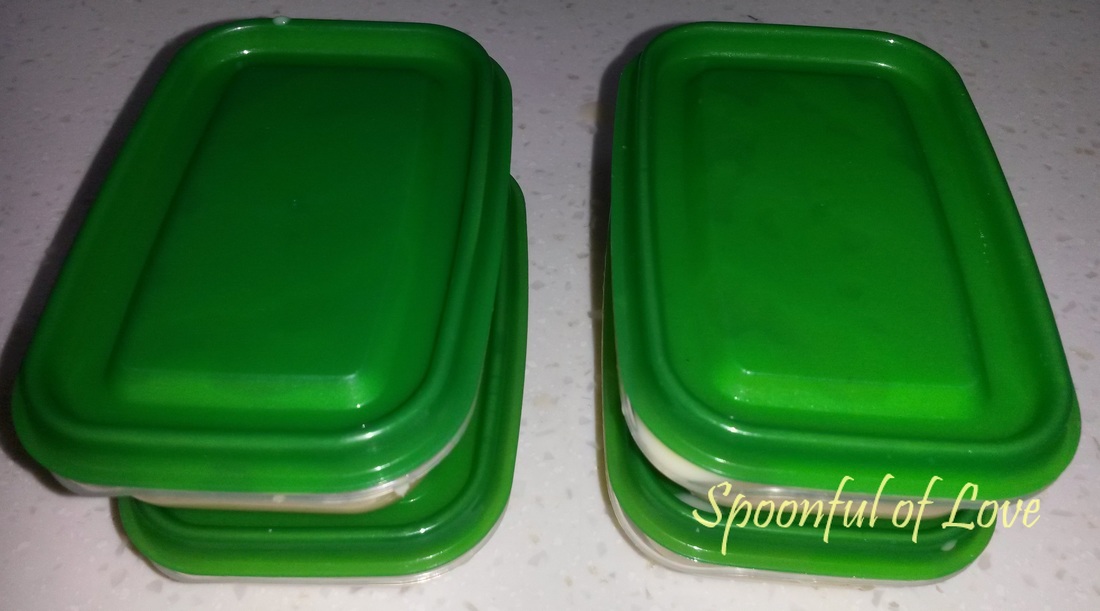
- To store the paste, spoon into small plastic boxes and cover with a lid
- Ensure that the boxes are clean and dry.
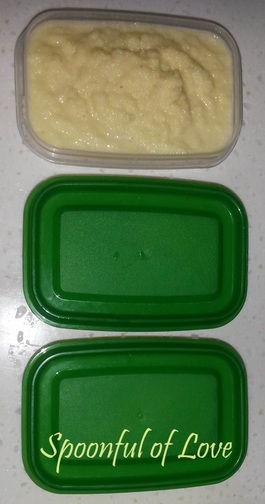
- Store all the boxes in the freezer saving just one box in the refrigerator for daily use.
Note –
- The ginger-garlic paste can be stored in the refrigerator for over a month and in the freezer for upto 6 months.
- Do not add any water while making the paste, if you do the shelf life of the paste will be reduce.
- Use a clean and dry spoon when using the paste for cooking.
- Thaw the frozen paste (IN THE REFRIGERATOR) before use. You can simply do this by pulling out a box from the freezer and leaving it in the refrigerator, when you have the last couple of spoons left. That way you will always have ginger garlic paste ready.
- This paste can be used wherever a recipe calls for the use of ginger and garlic. Eg. Marinating meats, in gravies / sauces, also as a tempering in Dal etc.,
